
What Sits Under a Kitchen Sink
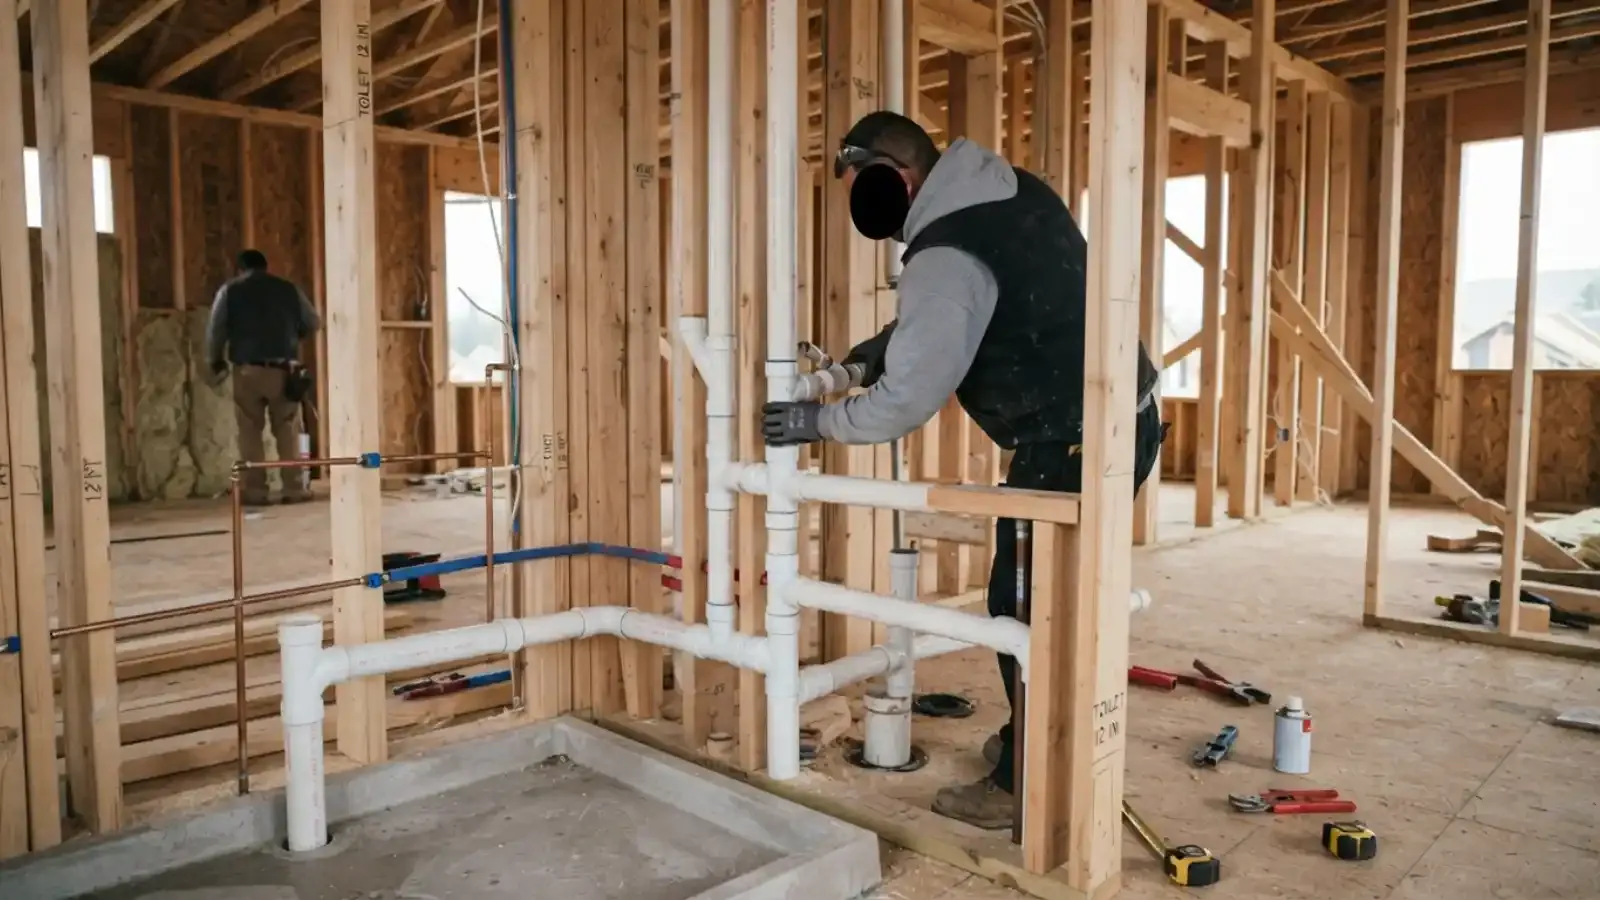
Two supply lines bring hot and cold water to the faucet, each with its own shutoff valve. A drain assembly runs from the strainer basket to a trap, then into the wall. A disposal and a dishwasher connection often share that drain.
A vent in the wall lets the drain breathe. Without it, water gurgles and the trap can siphon dry.
| Part | Job | Common issue |
|---|---|---|
| Shutoff valves | Stop water to the faucet | Seized or leaking old valves |
| Supply lines | Carry water to the faucet | Braided lines fail at the crimp |
| Strainer and tailpiece | Catch debris, start the drain | Putty or gasket leaks |
| P-trap | Holds a water seal against sewer gas | Loose nuts, cracked plastic |
| Disposal and dishwasher drain | Share the sink drain | High loop missing |
Decisions to Make Before the Plumber Arrives
Sink style and depth
A deep or farmhouse sink changes drain height and cabinet space.
Single or double bowl
Double bowls need a continuous waste connection to one trap.
Faucet holes
Match the number of faucet holes to the faucet you plan to use.
Disposal and filter taps
Plan the outlets, air gaps and any filtered water line.
Choose the sink and faucet first. Swapping them later means taking the plumbing apart twice. Have the faucet and sink on site on the day so we can fit and seal everything before the countertop is final.
Sink Materials and What They Mean for the Plumbing
Stainless steel sinks are light and mount in many ways. Cast iron and fireclay sinks are heavy and need cabinet support. Composite and granite sinks need undermount clips and careful sealing. Farmhouse sinks often need the cabinet cut to fit.
Deep sinks hang lower, which can leave less room for the disposal and trap. Measure the cabinet before you buy.
Dishwasher Connections and the High Loop
The dishwasher drain hose must rise to the underside of the countertop before it drops to the disposal or the drain. This high loop stops dirty sink water from running back into the dishwasher.
Some jurisdictions require an air gap instead. We follow the code that applies and explain which one your sink uses.
A Checklist for After the Install
Dry-towel test
Place a dry paper towel under each joint and check it after an hour.
Fill-and-drain test
Fill both bowls and release them at once. A leak at the trap shows under the load.
Cabinet check after a week
Slow weeps appear after a few days of use.
Shutoff valve test
Close and open each valve to confirm it turns freely.
Planning for Countertops
Undermount sinks are set after the countertop is cut, and the plumber usually connects the drain and faucet after the counter is installed. Coordinate the date with your countertop installer so the work flows in the right order.
If you are replacing a drop-in sink with an undermount, the cutout changes, so the countertop must be modified or replaced.
Plan the Cabinet Before You Buy the Sink
Measure the inside width of the base cabinet and the depth from front to back. A sink that is wider than the cabinet allows will not fit no matter how well it is installed.
Check the cutout template that comes in the box and compare it to the countertop. If the counter is stone or solid surface, the cutout is best done before the sink arrives.
Ready to plan your kitchen sink?
Call with the sink and faucet you chose. We will schedule the install and give a price.
How the Installation Goes
Shut off water and clear the cabinet
We close the supply valves and remove items from under the sink.
Remove old plumbing
Disconnect supply lines, the trap and any disposal.
Set the sink and faucet
Seal the sink to the counter and mount the faucet.
Connect drain and supply
New valves, supply lines and a trap aligned with the wall drain.
Test
Run water, fill the sink, check every joint with a dry paper towel.
What It Costs
Typical US prices for replacing a kitchen sink and faucet commonly run from about $300 to $900 for labor, plus fixtures. Adding a disposal, moving the drain or replacing old shutoff valves adds to it.
The biggest cost surprise is hidden damage. A cabinet floor that has been wet for years may need repair before the new sink goes in.
Common Mistakes
Using old rubber washers in new fittings, over-tightening plastic nuts, skipping the dishwasher high loop and reusing a corroded trap are the usual causes of a new sink leak. A slow drip under a sink soaks the cabinet before anyone notices.
Check the cabinet after the first day and again after a week with a dry towel under each joint.
We serve Chaska, Waconia and Shakopee. A failing disposal is handled by garbage disposal repair, and a faucet that drips is a faucet repair.
Permits for Fixture Work in Chaska
The City of Chaska requires a plumbing permit for installation, alteration, repair or addition of plumbing, including fixture replacement. A homeowner may pull a permit for work in an owner-occupied primary residence, and the City uses the SmartGov portal for permits.
Inspections can be reached at 952-448-9395 or [email protected]. We pull permits for the work we do when they are required.
The trap, vent and drain slope under a kitchen sink follow the Minnesota Plumbing Code, based on the Uniform Plumbing Code (UPC).
Source: City of Chaska plumbing permit information.
Questions Chaska Homeowners Ask
The City requires a plumbing permit for fixture replacement. Homeowners can pull one for their own primary residence, or we can pull it for the work we do.
Many owners do. Plan for new shutoff valves and supply lines, and test for leaks over a week.
Usually two to four hours for a like-for-like swap.
Often, especially if the old one is corroded or does not align with the new drain.
Yes, with an outlet and switch. See our disposal page for details.
We adjust the trap arm or re-route the drain so the slope stays correct.